This section describes how to install STAMP Workbench and open a Control Structure Diagram that is mainly used.
First, install STAMP Workbench, following the procedures described in Installing STAMP Workbench on Windows.
After installation, click on the icon on the desktop shown below to launch STAMP Workbench.
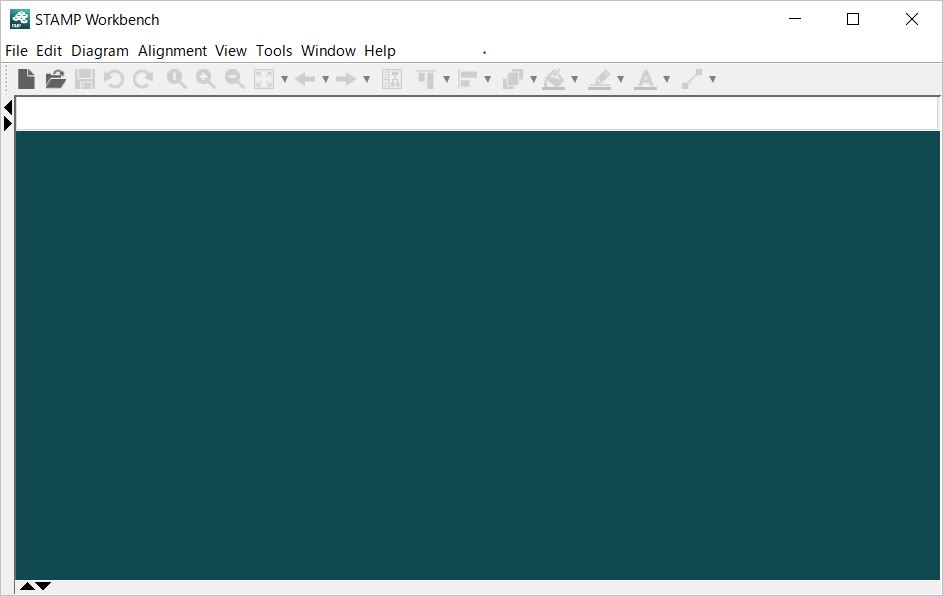
After a little while, the screen shown below will be displayed and the tool will be launched.
Once the tool is launched, select File ‣ New to create a project for storing data.
Once the project is created, the STPA Procedure view is displayed on the left, as shown below. In STAMP Workbench, STPA can be executed following the procedures of the IPA. Double-click on STPA Analysis Procedure ‣ STEP0 ‣ Preparation 2 ‣ Construct Control Structure. For details, refer to the following tutorial.
STAMP Workbench offers the environment to support STPA. For details how to use STAMP Workbench, refer to STAMP/STPA procedures in STAMP Workbench learned from the First STAMP/STPA.