Select the correct installer from the STAMP Workbench download page according to your product edition, usage environment and version and download the installer to the desired folder (e.g. Desktop).
Double click the downloaded installer.
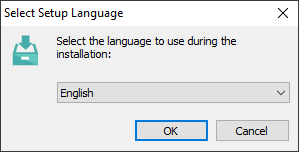
In the displayed dialog, select the language to be used during setup (Japanese or English) and click the “OK” button.
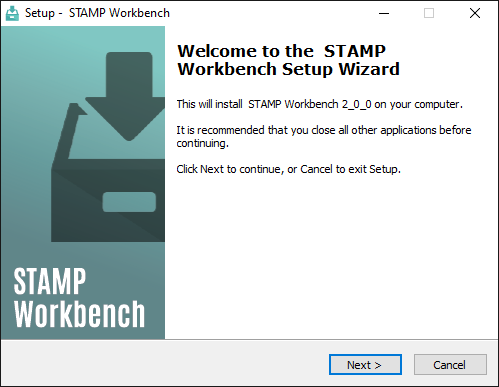
The start dialog of the setup wizard is displayed. Click the “Next” button.
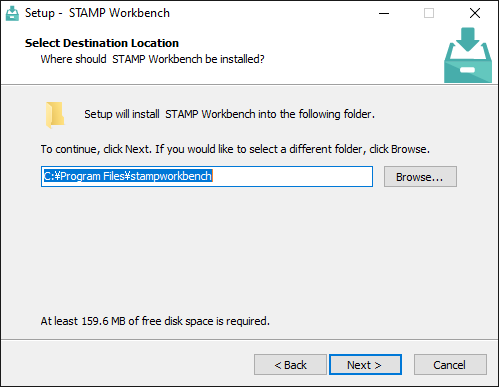
Specify the location in which to install the software. To change the default installation folder, click the “Browse” button and select a folder.
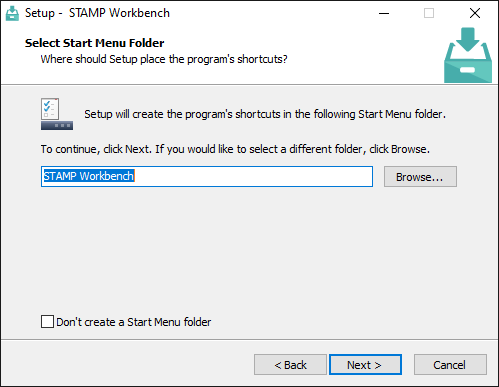
Select whether to create a program group. In most cases, simply click “Next”.
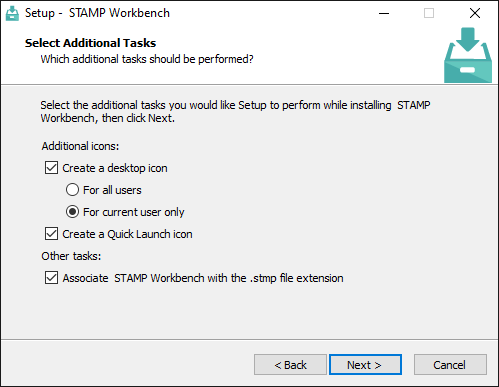
A dialog asks whether to create a desktop icon, create a Quick Launch icon or associate the software with files. Check or uncheck each item as necessary.
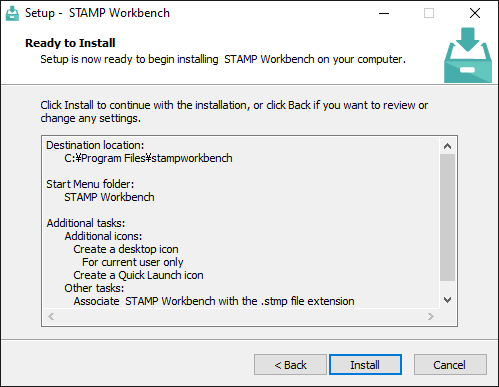
A dialog is displayed to indicate that preparation for installation is complete. If any settings need to be changed, click the “Back” button to return to the applicable dialog and reconfigure the settings.
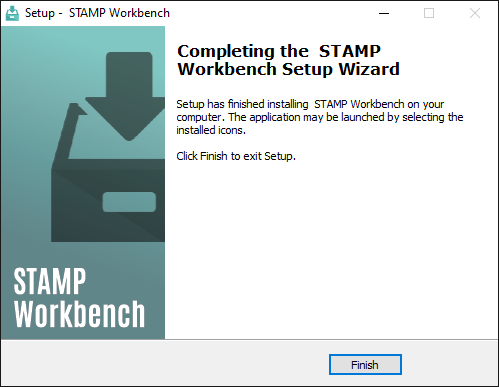
A completion window is displayed when the installation is complete.