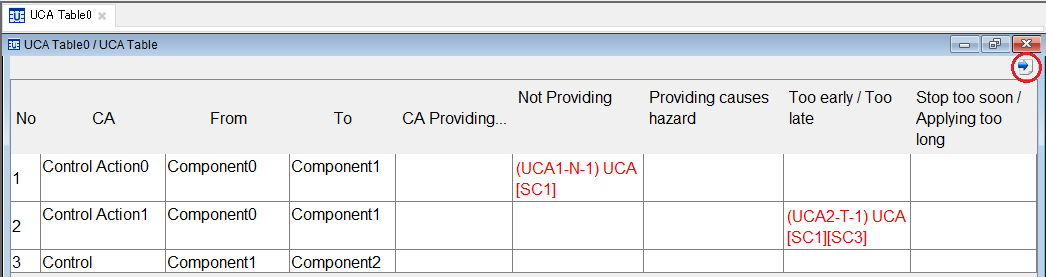
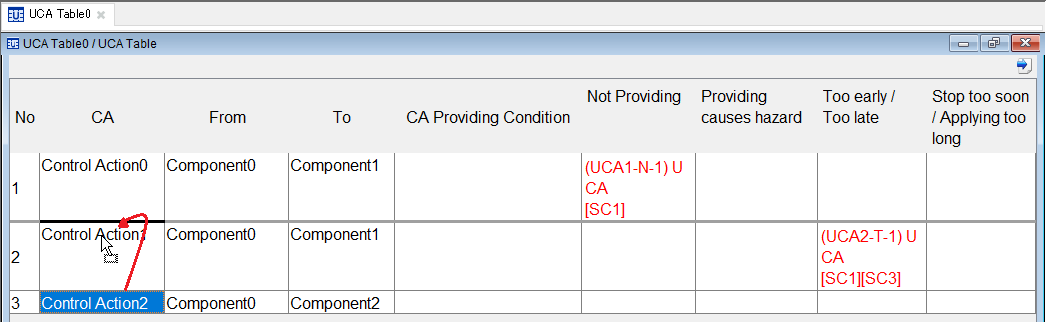
The UCA Table is a table to analyze the control actions (those are automatically extracted from the control structure) based on the guide words. The UCA Table is created under the project.
In the cell of UCA on the UCA Table, UCA ID, UCA, and Violating Safety Constraint ID are displayed.
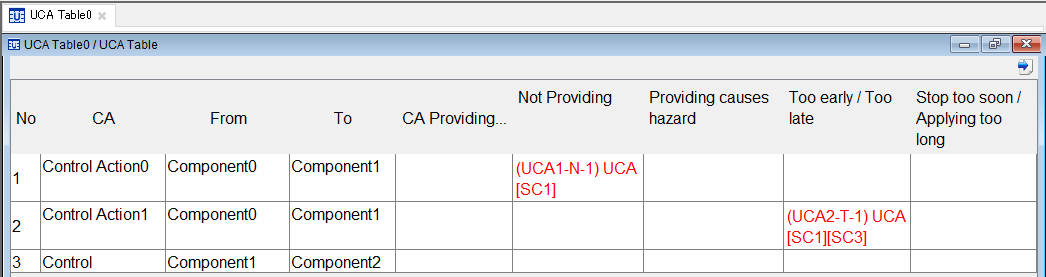
In the UCA Table, four types of guide words are defined.
Double-click on the CA cell to edit the control action.
Double-click on the From cell to edit the source-component name of the control action.
Double-click on the To cell to edit the target-component name of the control action.
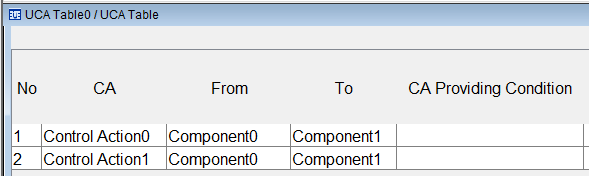
Double-click on the CA Providing Condition cell to edit the Providing Condition of the control action. Multiline input is enabled in the CA Providing Condition columns.
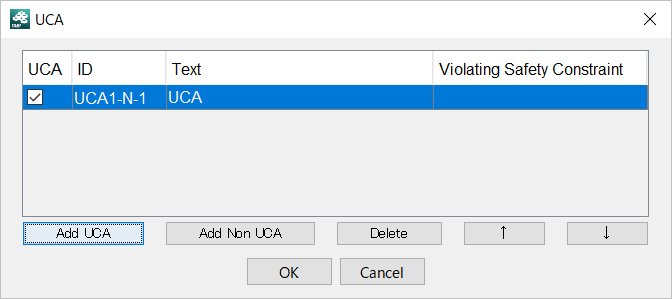
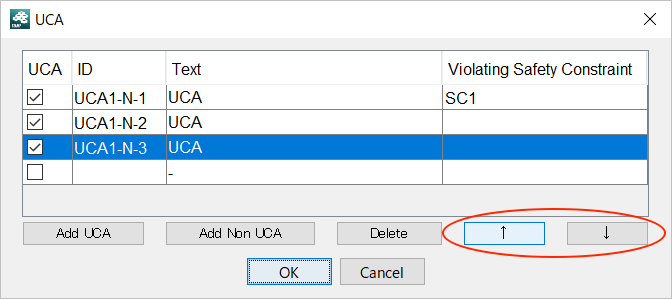
Double-click on the cell of the guide word (Not Providing, etc.) to display the UCA dialog.
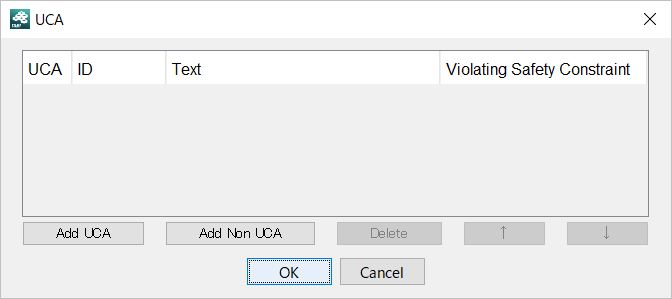
Double-click on the Text cell of the UCA to edit a UCA. Multiline input is enabled in the Text columns.
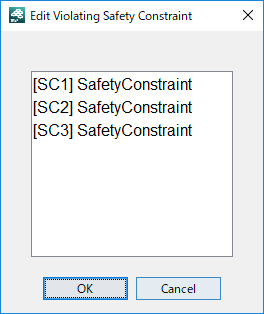
Double-click on the cell of the Violating Safety Constraint of the UCA to display the Violating Safety Constraint Edit dialog.
In the Violating Safety Constraint Edit dialog, the Safety Constraint defined with the Accident Hazard Safety Constraint Table is displayed. Select the Safety Constraint and click on [OK].
Select a UCA in the UCA dialog, and click on [Delete].
Click on [Add Non UCA] in the UCA dialog to add a Non UCA.
For a Non UCA, an ID number is not generated.
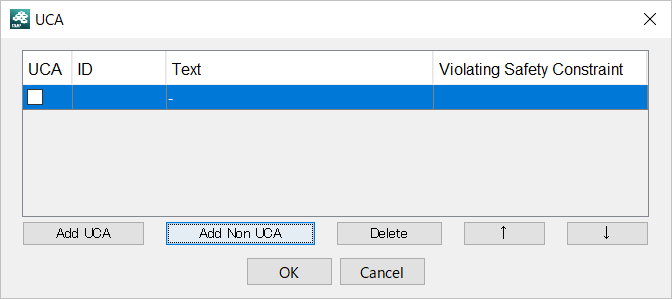
Double-click on the Text cell of the Non UCA to edit Non UCA. Multiline input is enabled in the Text columns.
For a Non UCA, the Violating Safety Constraint cannot be set.
Select a Non UCA in the UCA dialog, and click on [Delete].
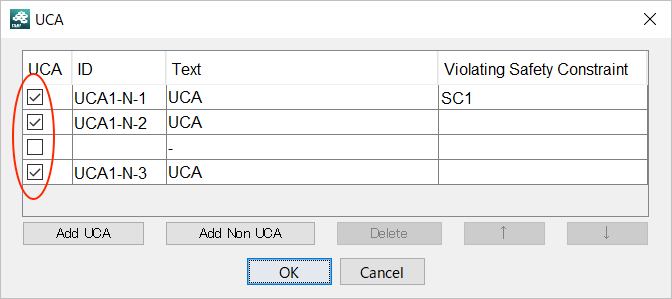
UCA/Non UCA can be changed with the check box in each row in the UCA dialog.
If the check box in the UCA dialog is ON, it means UCA, while if OFF it means Non UCA.
If UCA is changed to Non UCA, its ID and Violating Safety Constraint will be cleared.
Select a UCA/Non UCA row in the UCA dialog, and change the order using the up arrow or down arrow button.
The order of the CA on the UCA Table can be changed by dragging and dropping the row in the table.
If the order of the CA is changed, the UCA ID will be renumbered.
To output the UCA Table to an excel file, click on the [Output to the Excel File] button at top right on the UCA Table.